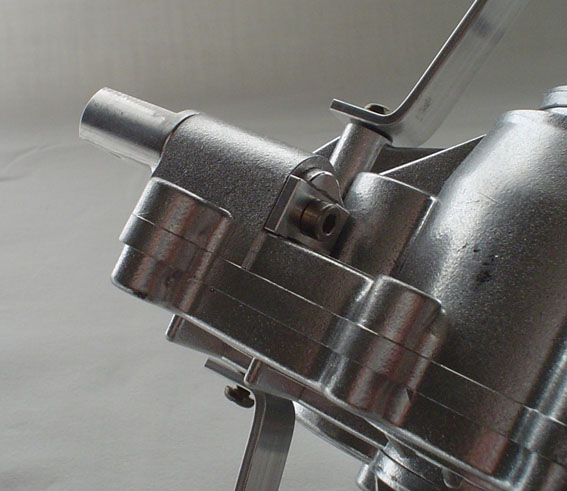
Step 1
Attaching gearbox stays to gearboxes
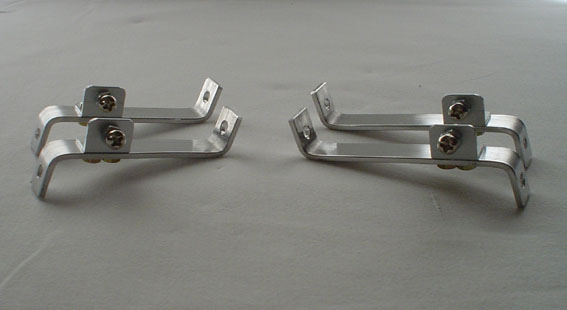
Step 2
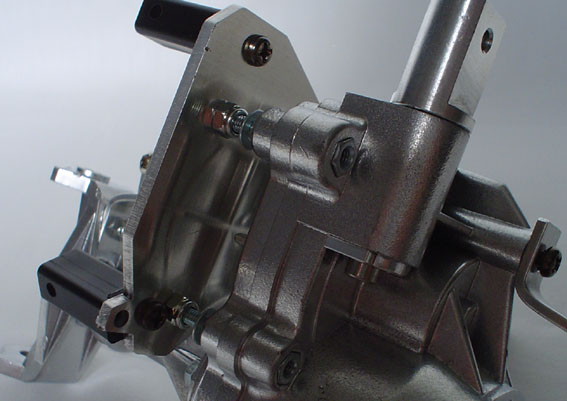
Place gearbox stays in position as shown.
NOTE: they are sided long and short.
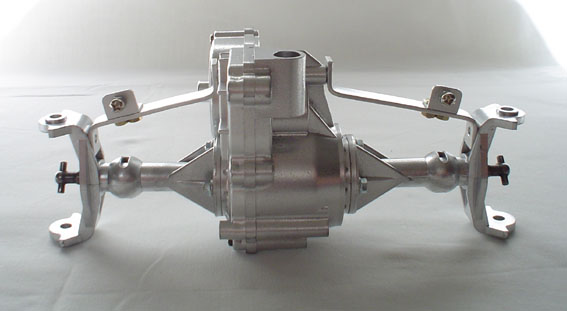
Step 3
Make sure both top and bottom holes are in line
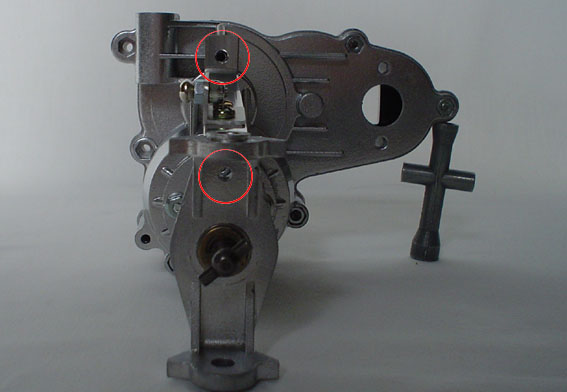
Step 4
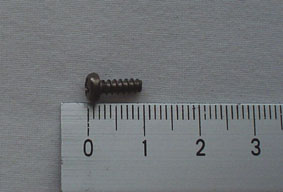
Attach gearbox stay to gearbox with 10mm screw, repeat for both sides.
NOTE Do not fully tighten yet!
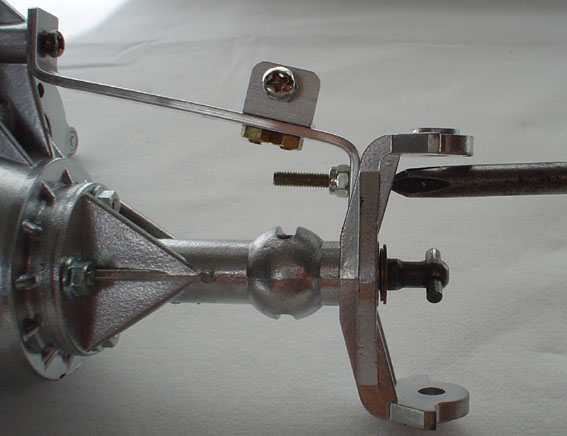
Step 5
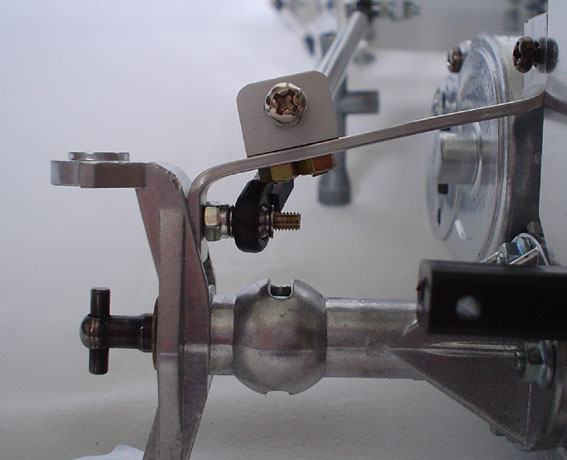
Attach gearbox stay to axle with 22mm M3 screw, repeat for both sides.

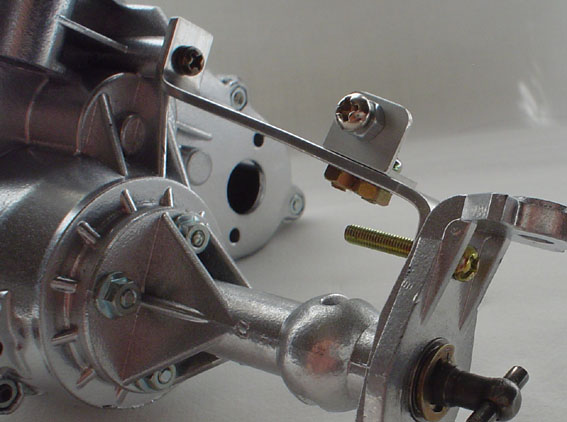
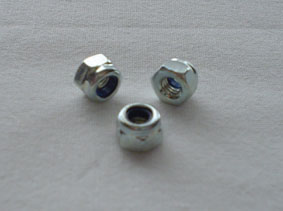
Step 6
Using a screwdriver and small spanner or pliers add an M3 nut, do not tighten fully, leave so screw can be turned freely. Repeat for both sides.
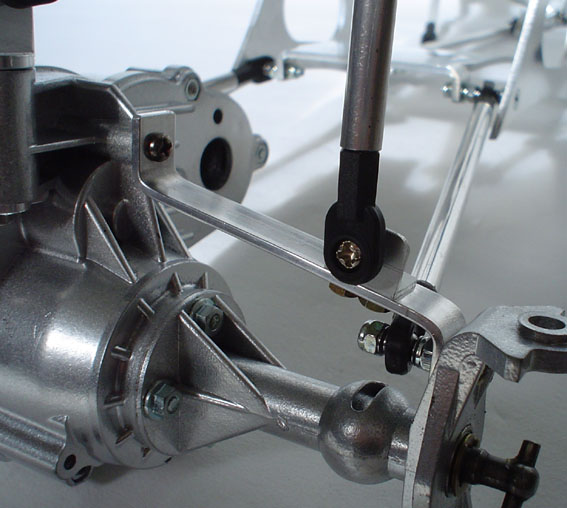
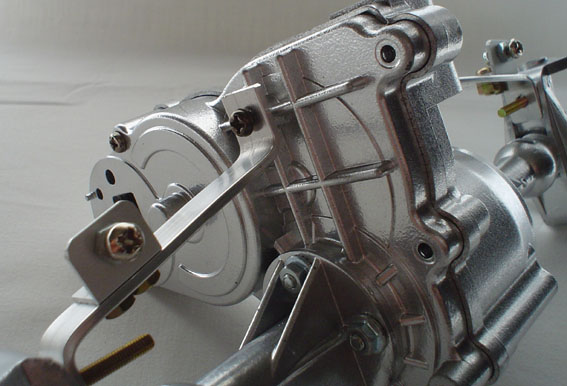
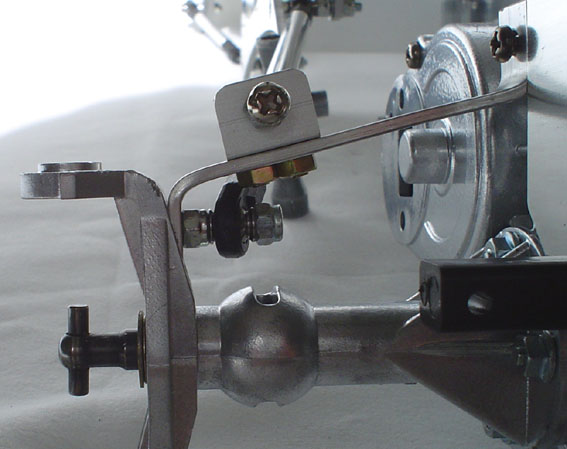
Step 7
Top link
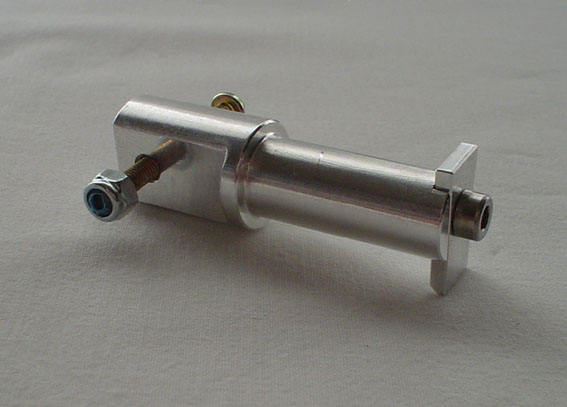
Step 8
Attach Top link to gearbox and secure as shown.
Step 9
Steering plates

Step 10
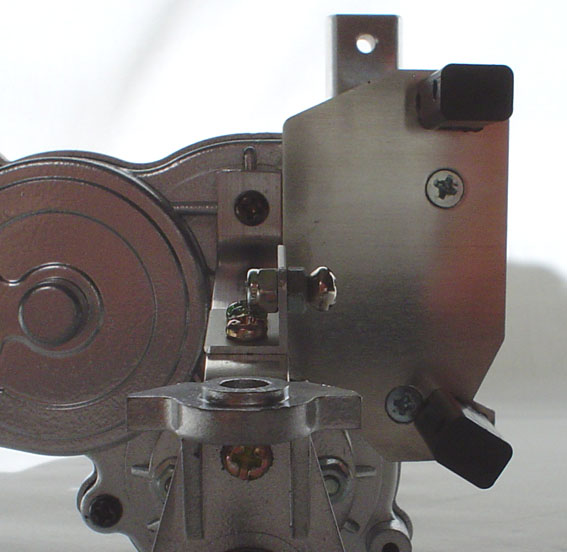
Attach steering plate as shown, do not fully tighten M3 nut, screw must be allowed to turn freely so it can be attached to the grearbox
NOTE When plate is attached turn lower servo mounting post 180 degrees for correct placement (front only)
Step 11
Make sure steering plate is next to gearbox stay and not overlaping
Step 12
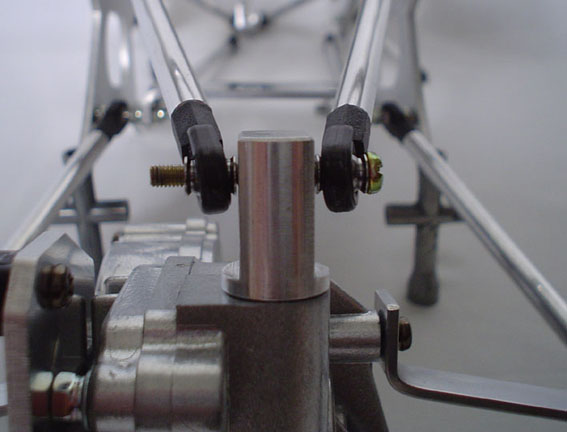
Slide lower chassis links over M3 screw as shown
Step 13
and top links over M3 screw on the top link mount. Secure in place with M3 nut
Step 14
Secure lower links in place with M3 nut and fully tighten
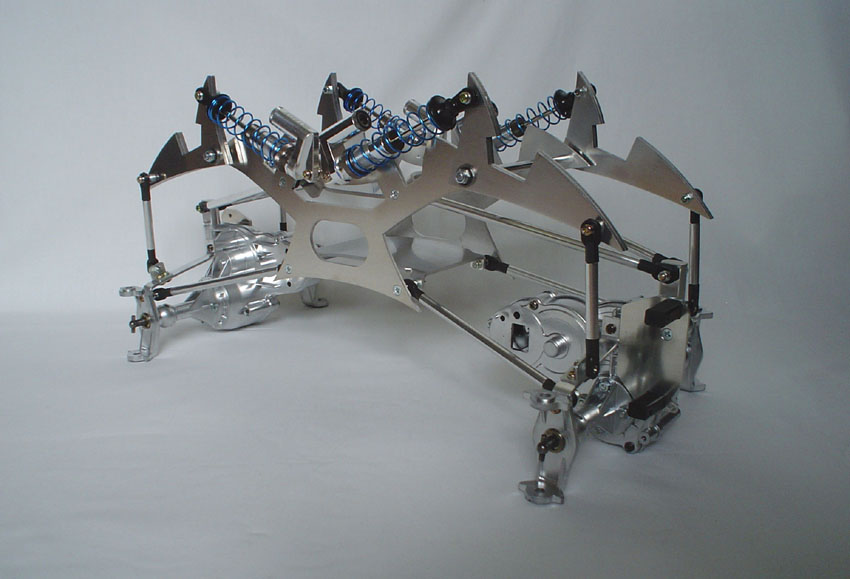
Step 15
Fully tighten 10mm screw to gearbox and clip cantilever links to teh gearbox stays as shown.